

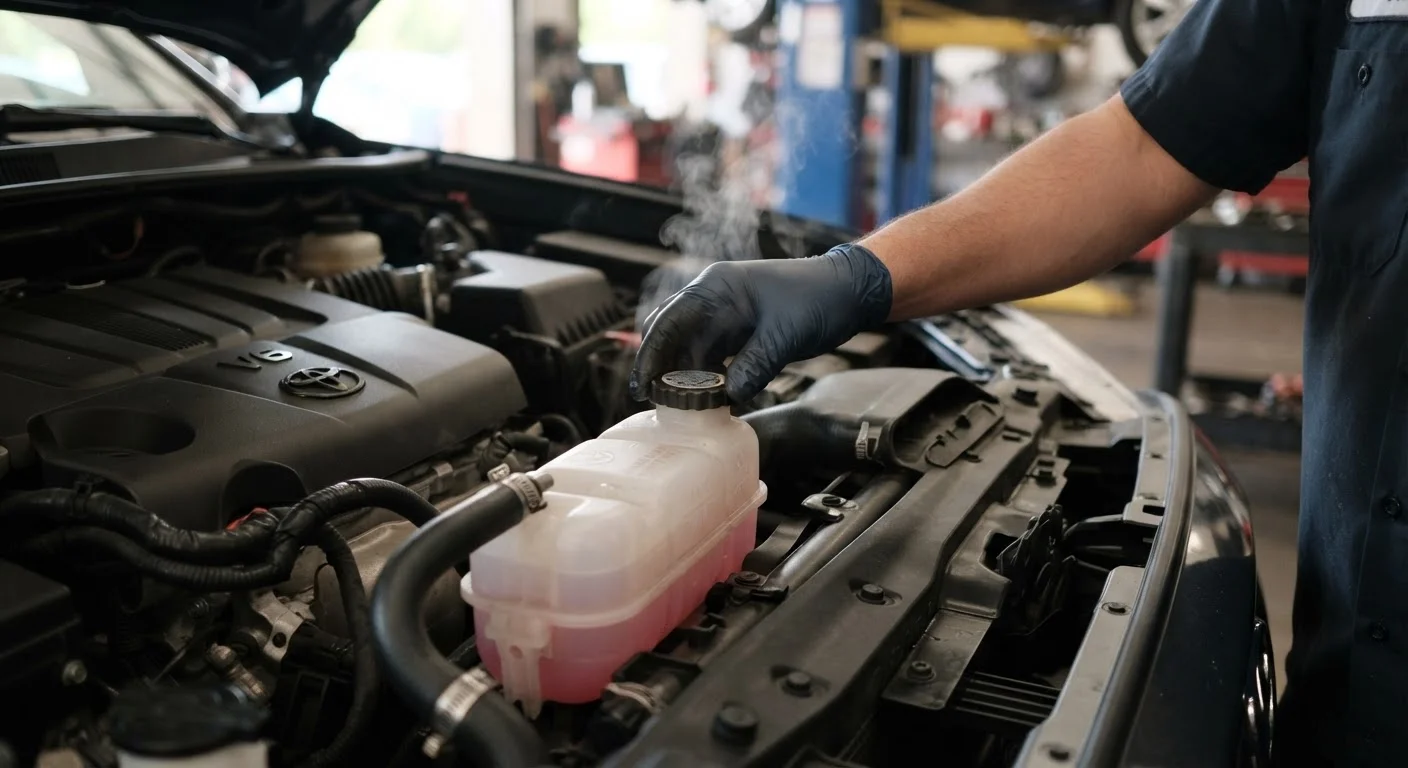
How the Cooling System Keeps Your Engine Safe
Your engine generates enormous heat as a byproduct of combustion. Without a functioning cooling system, internal temperatures would climb to destructive levels within minutes. The cooling system circulates a mixture of coolant (also called antifreeze) and distilled water through passages in the engine block and cylinder head, absorbing heat and carrying it to the radiator, where airflow dissipates it.
Key components include the radiator, water pump, thermostat, radiator hoses, and the coolant reservoir. The thermostat acts as a gatekeeper, holding coolant in the engine until it reaches operating temperature, then allowing it to flow through the radiator. The water pump keeps that circulation moving. Any failure in this chain—cracked hose, stuck thermostat, low coolant—can result in overheating.
Understanding these basics helps you catch warning signs early. As noted in common maintenance oversights that lead to expensive repairs, small problems left unaddressed almost always become larger ones.
What you will need
What You'll Need Before You Start
Cooling system maintenance is genuinely beginner-friendly, but gathering the right supplies beforehand makes the process cleaner and safer. Having your owner's manual on hand is especially important, since coolant type and flush intervals vary by manufacturer.
Coolant tester or test strips
Measures coolant freeze/boil protection level to determine if a flush is needed.
Drain pan
Captures old coolant safely during a flush to prevent ground contamination.
Funnel
Allows controlled, spill-free addition of new coolant to the reservoir.
Flashlight
Illuminates hoses, clamps, and the radiator for a thorough visual inspection.
Step-by-Step Cooling System Check and Maintenance
Follow these steps in order, ideally on a day when the vehicle won't be needed for a few hours. Rushing the cool-down period is the most common mistake beginners make—and the most dangerous one.
Let the Engine Cool Completely
Before touching anything under the hood, confirm the engine has been off for at least two to three hours. The cooling system operates under pressure, and opening the radiator cap or reservoir on a hot engine can cause scalding coolant and steam to eject violently.
Check the Coolant Level and Color
Locate the translucent plastic coolant reservoir—usually labeled and marked with MIN and MAX lines. The fluid level should sit between those marks. Healthy coolant is typically bright green, orange, or pink depending on the type; if the fluid looks brown, rust-colored, or oily, it has degraded and needs to be replaced.
Inspect Hoses and Connections
Squeeze the upper and lower radiator hoses firmly. They should feel firm but slightly pliable—not rock-hard, mushy, cracked, or sticky. Run your flashlight along each hose and look for bulges, soft spots, cracks, or any wet residue indicating a slow leak. Check the clamps at each end to confirm they're seated and tight.
Inspect the Radiator and Fins
Look at the front of the radiator for bent or clogged fins, debris (leaves, bugs, road grime), or visible corrosion. Blocked fins restrict airflow and reduce the radiator's ability to shed heat. Minor debris can often be cleared with a gentle stream of water from a garden hose directed backward through the fins.
Test Coolant Condition
Use inexpensive coolant test strips (available at most auto parts stores) to check the freeze and boil-over protection levels of the existing coolant. Dip a strip per the package instructions, then compare the color result to the chart provided. If protection falls outside the safe range, a coolant flush is overdue.
Top Off or Flush as Needed
If the level is low but the coolant looks clean, top it off using the correct coolant diluted with distilled water (typically a 50/50 mix unless sold pre-mixed). If the coolant is degraded, a full flush is warranted. Drain the system into a pan, refill with fresh coolant and distilled water per your manual's spec, then run the engine briefly with the heat on high to purge air pockets—a process called burping the system.
If you're not comfortable performing a full flush, a qualified mechanic can handle it quickly and at a generally modest cost.
Monitor the Temperature Gauge After Your Next Drive
After completing your checks, take a normal drive and watch the engine temperature gauge. It should rise to the normal operating range (typically around the midpoint) and stay there. If the needle climbs toward the red zone or fluctuates erratically, schedule an inspection promptly—possible causes include a failing thermostat, a weak water pump, or a developing head gasket issue.
A Coolant Leak Is Never Minor
Even a slow coolant drip can lead to rapid overheating once levels drop too low. If you notice a sweet smell, a puddle of colored fluid under the car, or white smoke from the exhaust, have the vehicle inspected before driving it further. Continuing to drive an overheating engine risks warped cylinder heads or a blown head gasket—repairs that can cost several thousand dollars.
Staying Ahead of Overheating for the Long Term
Cooling system maintenance is most effective as part of a broader vehicle care habit. Before any long drive, a quick scan of fluid levels—including coolant—takes only a few minutes and can flag an emerging problem before you're stranded. The road trip readiness checklist covers this and other essentials worth reviewing before hitting the highway.
It's also worth questioning common assumptions about car care. Some drivers believe that as long as the temperature gauge looks normal, there's nothing to check. But coolant degrades chemically over time even when levels are fine—its corrosion inhibitors wear out, which can damage the water pump, radiator, and hoses from the inside. That's the kind of nuance covered in car maintenance myths that cost drivers real money.
Build Cooling Checks Into Your Routine
Adding a quick coolant level visual to your monthly under-hood check takes less than two minutes. Pairing it with your oil level check means you're less likely to overlook it. Consistent small habits prevent the kind of neglect that leads to roadside breakdowns—see building a maintenance routine that actually sticks for a practical framework.
Coolant Is Toxic to Animals and Children
Ethylene glycol coolant has a sweet taste that attracts pets and small children, but it is highly toxic even in small amounts. Dispose of old coolant at a designated automotive fluid recycling location—never pour it down a drain or leave it in an open container. Check with local auto parts stores or municipal waste programs for drop-off options.
If your cooling system inspection turns up hose cracks, persistent leaks, or a temperature gauge behaving erratically, have a qualified mechanic diagnose the issue before the problem worsens. The cost of a thermostat or a set of hoses is a fraction of what an overheated engine can demand in repairs.
The content on this site is for informational purposes only and is not a substitute for professional advice. Always consult a qualified professional for guidance specific to your situation.