

Summary
14 items · 30–60 minutes per year
Why Water Heater Maintenance Gets Skipped
The water heater is one of those home systems that quietly does its job until the day it doesn't. Because it sits in a utility closet or basement and rarely demands attention, maintenance gets deferred year after year. The result is often an avoidable failure — a leaking tank, rusty water, or a cold shower on the wrong morning.
The tasks most homeowners overlook aren't complicated. They simply require knowing what to look for and establishing an annual rhythm. This checklist covers the maintenance steps that genuinely matter, why each one exists, and when to call in a licensed plumber rather than handling it yourself. For a broader view of how this fits into whole-home care, see home maintenance systems and schedules.
Gas and Electrical Work Requires a Licensed Professional
This checklist covers maintenance tasks a careful homeowner can reasonably perform. It does not cover gas line inspection, venting adjustments, or electrical element replacement on electric heaters — these must be handled by a licensed plumber or electrician. Attempting gas-related work without proper training or certification is dangerous and may violate local codes.
Tools and Supplies You'll Need
Before working through the checklist, gather the items below. Having everything on hand prevents interruptions mid-task and makes the process more efficient.
Garden hose
Used to drain sediment-laden water from the tank's drain valve into a suitable discharge point.
1-1/16 inch socket wrench
Required to remove and reinstall the anode rod from the top of the tank.
Thread-seal (Teflon) tape
Applied to the threads of the replacement anode rod to prevent leaks at the fitting.
Bucket or floor drain access
Needed to safely collect hot water discharged during flushing or valve testing.
Work gloves and eye protection
Protect hands and eyes from hot water, sediment, and debris during flushing and valve testing.
Pipe insulation foam sleeves
Optional upgrade to reduce standby heat loss on supply pipes near older tanks.
The Full Maintenance Checklist
Work through these items at least once a year. Homes with hard water or older units may benefit from checking some items every six months. As with any home system, recognizing small problems early is far less costly than reacting to failures — a pattern explored in detail in commonly misunderstood home maintenance tasks.
Annual Inspection Basics
Sediment Flushing
Anode Rod Check
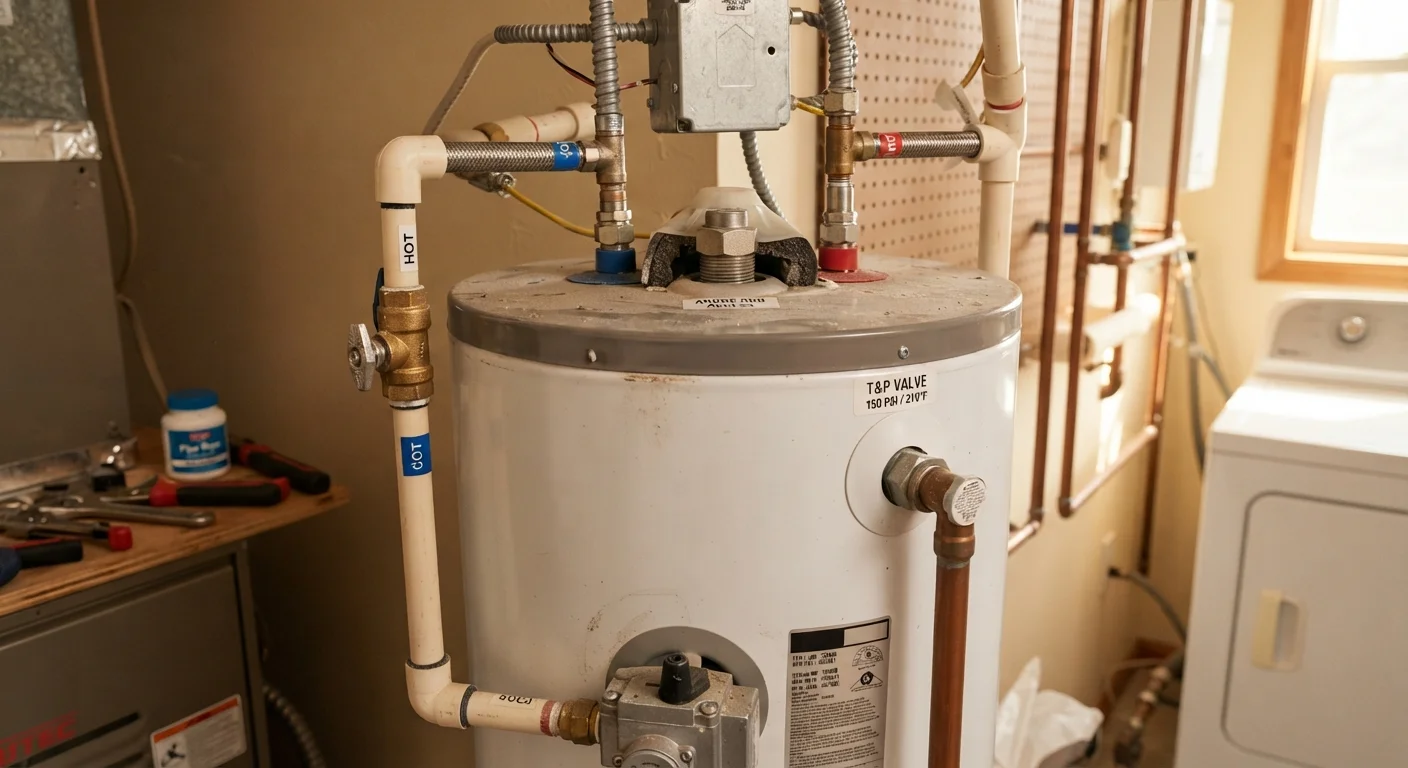
Temperature and Pressure Relief Valve
Temperature Setting and Efficiency
Never Skip the T&P Valve Test
The temperature and pressure relief valve is the primary safety device preventing a dangerous pressure buildup inside the tank. A failed valve that goes undetected is a serious hazard. If the valve leaks continuously after testing or shows any sign of corrosion or blockage, do not delay — have it replaced by a licensed plumber immediately.
Knowing When to Call a Professional
Several tasks on this checklist are genuinely DIY-friendly — visually inspecting the unit, checking the temperature setting, or clearing the area around the heater. Others carry enough risk that a licensed plumber should handle them, particularly anything involving gas supply lines, venting, or internal tank repairs.
If you notice any of the following, stop and contact a licensed plumber: a persistent rotten-egg smell near a gas heater, water pooling at the base of the tank, or a pressure relief valve that continues to discharge after testing. These can signal gas leaks, tank corrosion, or dangerous pressure buildup — none of which are DIY territory.
Water heater work is also connected to your broader plumbing system. Understanding your shutoff valves before you begin is essential; plumbing basics every homeowner should know covers that foundation clearly. And since wet areas adjacent to your water supply lines can quietly develop their own problems, keeping wet areas from becoming water damage problems is worth reviewing alongside this checklist.
This article is for general informational and educational purposes only. Water heater maintenance and repair can involve hazards including hot water, gas, and high pressure. Always consult a licensed plumber or qualified technician for tasks beyond your skill level, and verify any local code or permit requirements before beginning work.
The content on this site is for informational purposes only and is not a substitute for professional advice. Always consult a qualified professional for guidance specific to your situation.