

Why Rooms Get Overwhelming in the First Place
Most cluttered rooms didn't happen overnight. They accumulate gradually — a pile of mail here, a bag left unpacked there — until the whole space feels too chaotic to address. The result is a common cycle: the room looks overwhelming, so you avoid it, and avoidance makes it worse.
The good news is that the same gradual process that created the clutter can reverse it. You don't need a free weekend, a truckload of storage bins, or a professional organizer. What you need is a repeatable method that removes the guesswork and lowers the activation energy to begin.
If you're entirely new to tackling your living space, the first-timer's introduction to home organizing covers the core concepts worth understanding before diving in. For this article, we'll focus on one room at a time — because that's how real progress happens.
What you will need
What You'll Need Before You Begin
One of the most common mistakes people make is spending hours researching storage solutions before they've sorted a single item. Organizers and containers should come after the sort, not before — because you won't know what you actually need until you see what you're keeping.
For now, gather only the basics listed below. The goal is to remove every barrier between you and starting.
Large trash bags
Collect items going directly to the trash or recycling as you sort.
Cardboard boxes or laundry baskets
Serve as temporary holding zones for keep, donate, and relocate piles during the sort.
Sticky notes or scrap paper
Label each box or pile clearly so sorting decisions stay organized during the session.
Timer (phone or clock)
Keep work sessions focused and prevent decision fatigue by setting a defined stopping point.
Once you have these on hand, you're ready to begin. No labeling system, no color-coded bins, no Pinterest board required.
Step-by-Step: Decluttering the Room
Follow these steps in order. Resist the urge to skip ahead or reorganize items before the full sort is complete.
Choose one small zone to start
Don't try to tackle the whole room at once. Pick a single, clearly bounded zone — one corner, one surface, one shelf, or one section of floor. A zone roughly the size of a kitchen table is ideal for a first session.
This isn't procrastination; it's strategy. Finishing a small zone completely is far more motivating than making a little progress everywhere and feeling like nothing changed.
Remove everything from the zone
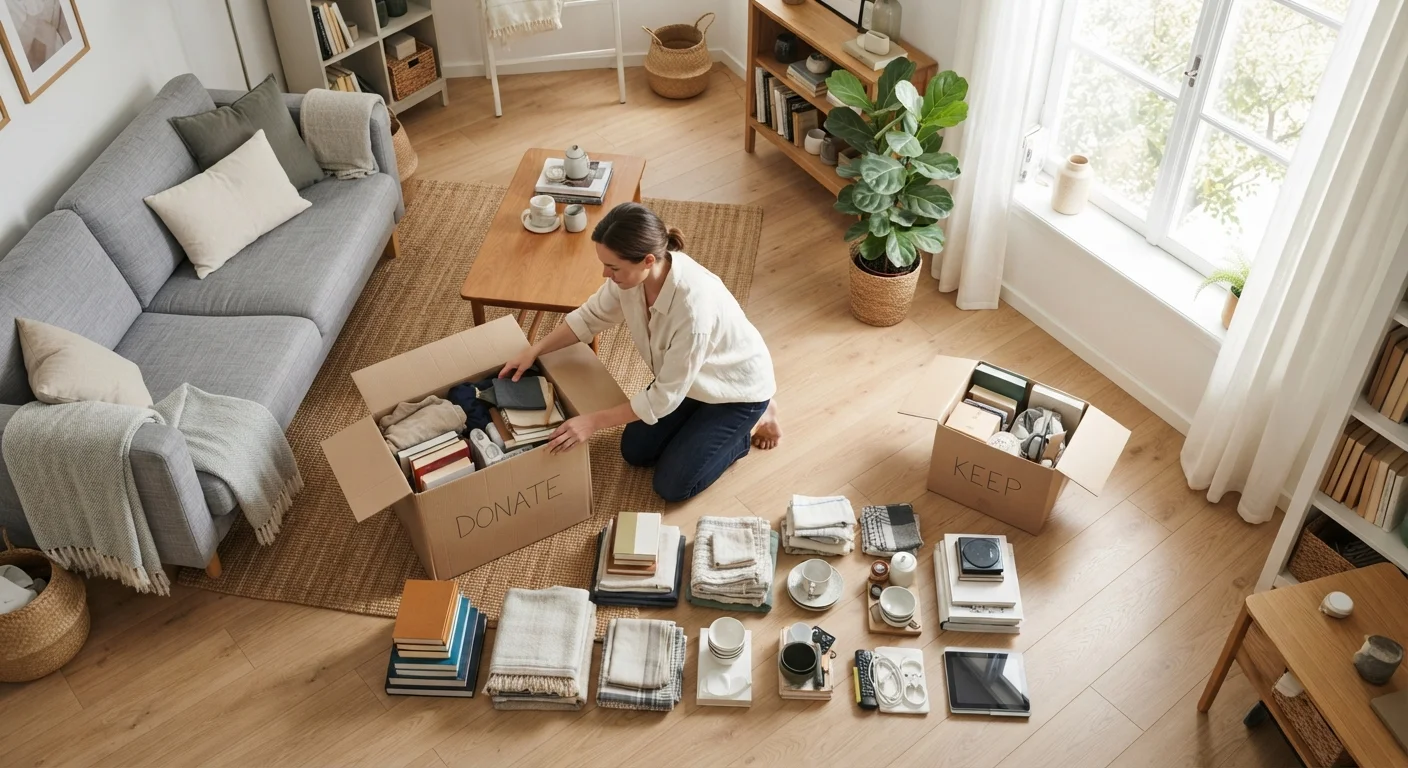
Take every item out of the space you've chosen and place it in a central area — the middle of the floor or a cleared table. This step is non-negotiable. You need to see everything at once to make real decisions, and an empty zone gives you a visual finish line to work toward.
Sort every item into four categories
Go through each item and place it into one of four categories:
- Keep — used regularly and belongs in this room
- Donate / give away — in good condition but no longer needed
- Trash / recycle — broken, expired, or not usable by anyone
- Relocate — belongs in a different room in your home
Handle each item once and make a decision. If you're unsure, ask: Have I used this in the past year? Would I buy it again today? If the answer to both is no, it's usually not a keeper.
Return only the 'keep' items — with purpose
Before placing anything back, wipe down the empty surface or space. Then return only the items in your keep pile, and as you do, assign each one a specific spot. Don't just place things back randomly — decide where each item lives and why it belongs there.
If a kept item doesn't have an obvious home in this room, treat it as a relocate item and find it a better spot elsewhere in your home.
Deal with the other piles immediately
Move the trash bag to the bin, relocate items to their correct rooms (even if that means setting them outside the door for now), and move your donate box out of the room. The longer these piles stay visible in the space, the more likely items drift back into the room.
You don't need to drop off donations today — but getting the box out of the room removes the temptation to second-guess decisions you've already made.
Repeat the process in short sessions
Once the first zone is complete, stop and acknowledge the progress. Then schedule your next session — ideally within a few days — to tackle the next zone. Consistent short sessions beat an occasional all-day effort every time.
A typical room can be fully decluttered in three to five sessions of 30–45 minutes each, depending on how much has accumulated over time.
Decision Fatigue Is Real
The more choices you make, the harder each subsequent one becomes. If you find yourself stalling on every item, take a 10-minute break before continuing. Splitting your session across two shorter blocks can be more productive than one long, exhausting push.
Once the session is done, take the donate box out of the room immediately — even if it's just to a car trunk or hallway. Items that linger tend to creep back in. For guidance on maintaining what you've just done, the seasonal declutter checklist is a practical resource for keeping rooms reset twice a year.
After the Sort: Setting Up a System That Sticks
Decluttering clears the slate — but without a light system in place, clutter tends to return within weeks. The key principle is simple: every item you kept needs a designated home. When things don't have a place, they pile up on surfaces by default.
You don't need elaborate storage for this. A drawer for charging cables, a basket for remotes, a hook by the door for bags — small, obvious homes for common items are often enough. If you want a more structured approach, the Zone Method offers a practical framework for organizing your home around how you actually use each space.
If a specific trouble spot — like an overflowing catch-all drawer — keeps refilling, that's often a sign of a broader storage gap in the room. The article on diagnosing your home's storage system can help you identify what's really going on.
Finally, if you share the space with others, maintaining it requires buy-in from everyone involved. Organizing a shared home when people have different tidiness standards is its own skill — and one worth developing early.
The content on this site is for informational purposes only and is not a substitute for professional advice. Always consult a qualified professional for guidance specific to your situation.