

Why Renter-Friendly Organization Demands a Different Approach
Renting gives you a home but not full ownership of its surfaces. That distinction matters more than most people realize when it comes to organization. Standard advice — mount a pegboard in the kitchen, install built-in shelves in the closet, anchor a TV console to the wall — can quietly erode your security deposit or violate lease terms. The good news is that a genuinely well-organized rental is absolutely achievable; it just calls for a deliberate toolkit from the start.
The goal here is functional order you can live with daily and pack up cleanly when you move. If you're also dealing with a compact floor plan, our article on organization strategies for apartments and compact homes covers complementary approaches worth pairing with what's below.
What you will need
Your Deposit-Safe Toolkit
Before moving a single item, gather the tools and supplies that make renter-friendly organization possible. Having the right materials on hand prevents the temptation to grab a drill mid-project.
Removable adhesive strips and hooks
Hang lightweight items on walls, inside cabinets, or on doors without leaving permanent damage.
Tension rods
Create dividers inside cabinets or drawers, or hang organizers in closets and under sinks — no screws needed.
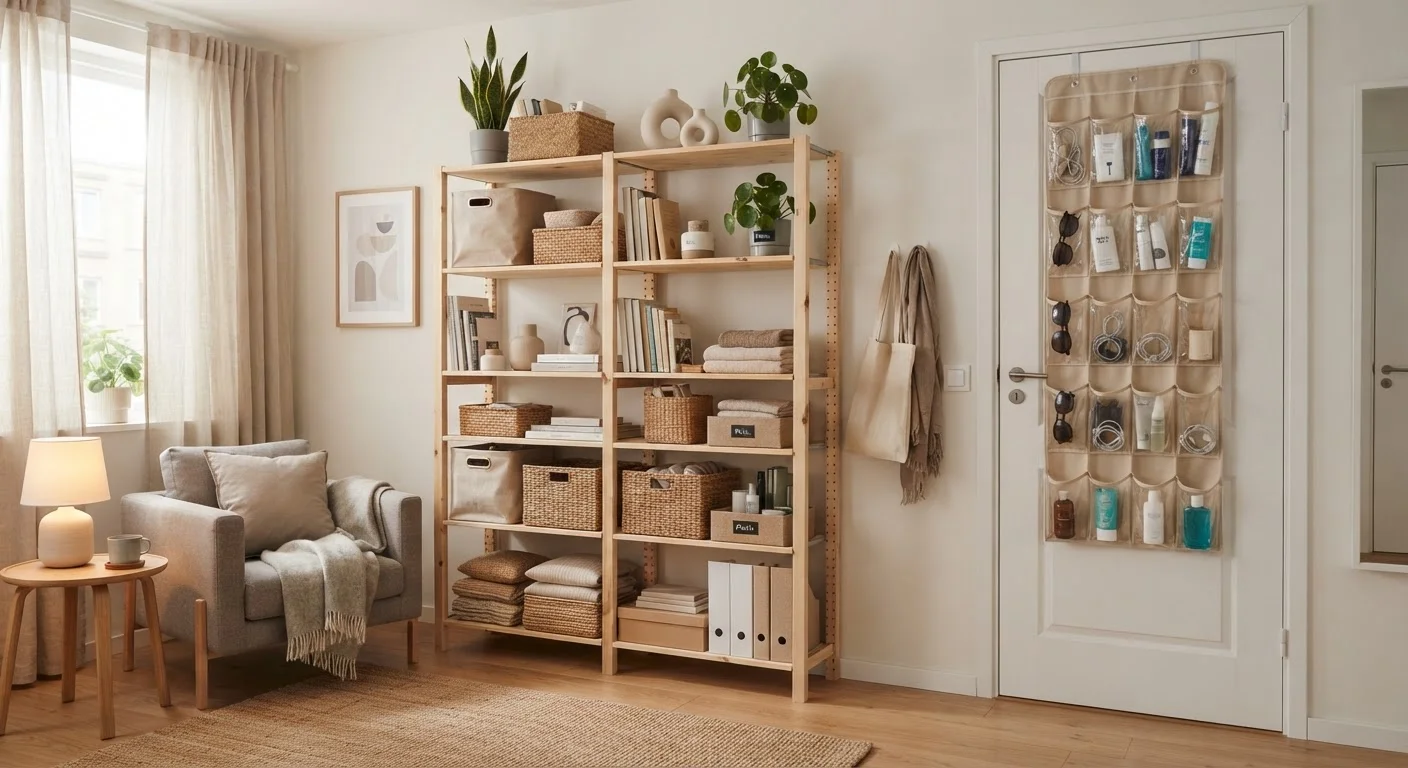
Freestanding shelving unit
Adds substantial vertical storage in any room without touching the wall at all.
Over-door organizers
Use the back of every door — bathroom, bedroom, pantry — for additional pockets and hooks.
Stackable bins and baskets
Group like items together within existing shelves, cabinets, and closets to create visible, accessible order.
Furniture risers
Elevate beds or sofas to create usable under-furniture storage space.
Label maker or label tape
Mark bins and baskets so every household member knows exactly where things belong.
With these tools assembled, you're ready to work through each area of your home methodically.
Step-by-Step: Setting Up Organization That Won't Cost You
Work through your space one zone at a time. If you'd like a framework for thinking about zones before diving in, the Zone Method guide offers a useful starting structure. Follow the steps below in order — they're sequenced to build on each other.
Document the space before you touch anything
Walk through every room and take dated photos of walls, floors, and surfaces — pay special attention to any pre-existing scuffs, nail holes, or stains. Store these photos somewhere backed up, like a cloud folder. This record protects you if there's any disagreement at move-out.
Audit what you own before adding any storage
Organization tools only help if you're not storing more than you need. Before buying a single bin or shelf, go through each area and remove items you no longer use. Donate, recycle, or discard them. Rented spaces are often smaller than owned homes, so every unnecessary item has an outsized impact on how the space feels and functions.
Claim vertical space with freestanding shelving
In living areas, bedrooms, or home offices, a freestanding shelving unit pulls significant storage duty without any wall attachment. Position it against a wall for stability and use baskets or bins on each shelf to group categories — books, office supplies, seasonal items. Vertical space is almost always underused in rentals.
Install over-door organizers on every viable door
The back of a door is prime real estate in a rental. Over-door organizers fit standard door thicknesses and require no hardware — they hook over the top of the door. Use them in the bathroom for toiletries, in the pantry or kitchen for spices and small items, and in the bedroom closet for shoes or accessories.
Use tension rods to create internal cabinet structure
Inside kitchen and bathroom cabinets, tension rods installed vertically create slots for baking sheets, cutting boards, and trays — eliminating the frustrating stack that collapses when you pull one item out. A tension rod installed horizontally under the sink can hold spray bottles by their triggers, freeing up floor space in the cabinet below.
Apply removable adhesive hooks strategically
Removable adhesive hooks can handle coats, bags, keys, kitchen utensils, and lightweight décor. Follow the manufacturer's weight limits carefully — overloading an adhesive hook is the most common cause of wall damage. Clean the wall surface with rubbing alcohol before application and wait the full recommended curing time before hanging anything.
Label everything and communicate the system
Once your storage is in place, label each bin, basket, and drawer zone clearly. Labels serve two purposes in a rental: they help you maintain the system daily, and they make it much easier to pack efficiently when you eventually move. If you share the space with others, a quick walkthrough of where things go makes the difference between a system that holds and one that quietly collapses.
Keeping It That Way — and Protecting Your Deposit
Getting organized is step one; staying organized in a rented space requires a few ongoing habits. The most reliable one: apply a one-in, one-out rule so new items don't gradually overwhelm your deposit-safe storage solutions. Our guide on rules that keep clutter from creeping back explains how to make that principle stick long-term.
On the deposit side, two practices matter most. First, photograph every room thoroughly before you add any organizational elements — this establishes a baseline that proves existing scuffs or wear weren't caused by you. Second, when you eventually move out, remove adhesive hooks and strips slowly and at the angle specified by the manufacturer to minimize any risk of paint pulling. If a small scuff does appear, a touch-up with the landlord's paint color (often left in a closet) is usually sufficient — but check your lease before doing any painting yourself.
Read Adhesive Instructions Fully Before Applying
Every removable adhesive product has specific surface requirements, weight limits, and removal instructions. Taking five minutes to read them before use is the single best way to avoid deposit deductions. When removing strips, pull slowly at a low angle rather than pulling straight off the wall.
If you share your space with others, getting everyone aligned on the system is just as important as the physical setup. The guide to organizing shared spaces addresses how to negotiate and maintain standards when housemates have different habits.
The content on this site is for informational purposes only and is not a substitute for professional advice. Always consult a qualified professional for guidance specific to your situation.